Automotive Restoration | Minneapolis, MN | Iverson Automotive | Services
285
page-template-default,page,page-id-285,page-parent,ajax_fade,page_not_loaded,,qode_grid_1300,footer_responsive_adv,hide_top_bar_on_mobile_header,qode-content-sidebar-responsive,qode-theme-ver-13.3,qode-theme-bridge,wpb-js-composer js-comp-ver-5.4.5,vc_responsive

Services

Types of Restoration

Stainless Restoration

Stainless Restoration

Aluminum Restoration

Aluminum Restoration

Pot Metal Restoration

Pot Metal Restoration

New Old Stock

New Old Stock

10 Step Process for Trim Restoration

Between 1969 and 1985, the year I established Iverson Automotive, I honed my trim restoration skills – learning the nature of various metals, compounds, and finishes, and the effects of temperature, speed, and pressure upon them. I developed my own method for restoring stainless, aluminum and pot metal trim. Part style and part scientific process, I created a 10-step procedure for bringing automotive trim back to life. Remove all dents, scratches, pits, and recontour, if necessary.

Step 1: Remove all dents, pits, scratches, and recontour if necessary

In dent removal, some people use a leather bag with sand or a piece of leather wrapped wood to absorb the impact of the hamer or pick that is used to “peen” or pound out the dents. I prefer to use a leather-wrapped piece of wood, but I’ve also found that a large chunk of Silly Putty absorbs the impact of the hammer and, because it is somewhat sticky, also serves to hold the stainless or aluminum trim in place. Once the dents are pounded out, the typical process is to file off the high spots or peaks. It is my opinion that filing is much too harsh on automotive trim, so I prefer to sand off the peaks or high spots. I use several techniques, depending upon the piece. I might use an air-driven mini-belt sander, a Dremel combination one-inch-belt-and-five-inch disk sander, a duel-action sander or a block of wood wrapped with sandpaper.

Step 2: Sand with 280-grit sandpaper

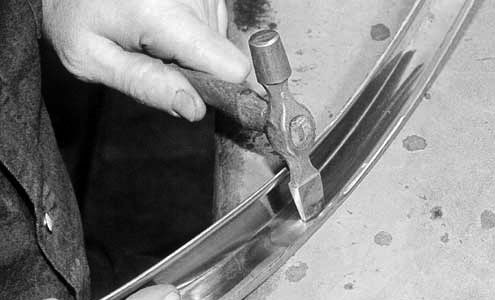
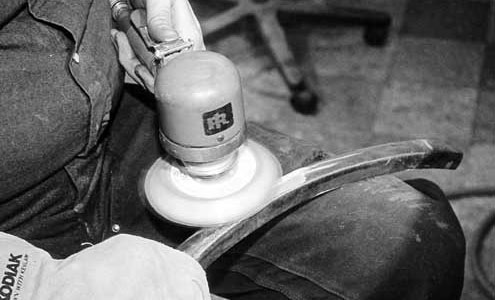
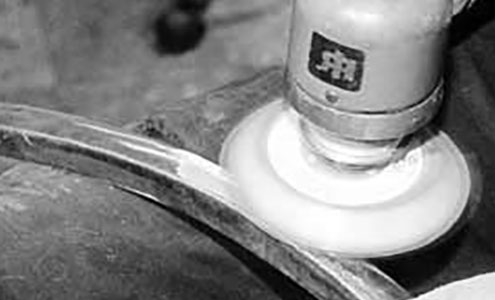
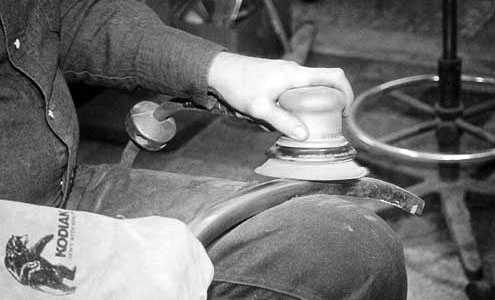
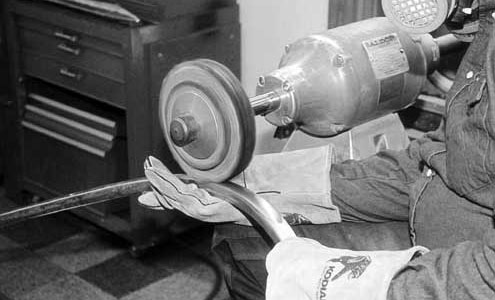
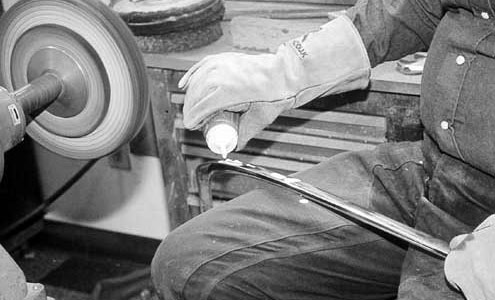
I use an air-driven, dual-action, variable-speed sander with 3M’s gold stick-it paper. This paper is expensive, but it gives me the best results. Sometimes, I use transmission fluid as lubricant. It is messy, but it stretches out the life of the sandpaper. The 280-grit paper usually removes peaks caused by dent removal, light scratches and most pits. The real key is not to get the piece too hot. Heat causes thin and flat pieces (like rocker moldings) to warp.

Keep the sander moving. If the stainless begins to take on a darker color – the piece is getting too hot. A rule of thumb is: If the sandpaper catches on fire, your piece is getting too hot!

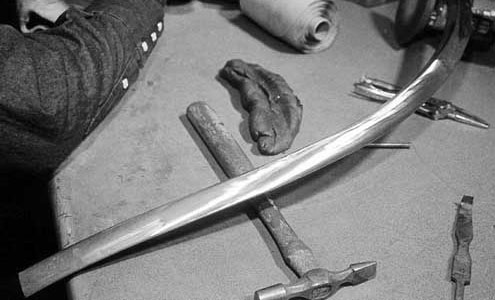
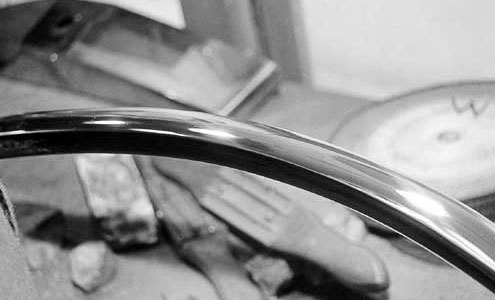
Pit removal can be difficult. You not only remove pits, but you also must remove surface material evenly across the piece. This is done to prevent a wavy appearance. If you simply concentrate your efforts on one area, you will cause a depression in that area. If you do not take off material evenly, you might get the pit out, but you’ll have caused a bigger problem.

Step 3: Sand with 320-grit sandpaper

Again this is usually done with a “DA” (dual-action) sander, and serves to remove the sanding marks from the 320-grit sanding process. Basically the same process as before.

Step 4: Sand with 400-grit sandpaper

Again this is usually done with a “DA” (dual-action) sander, and serves to remove the sanding marks from the 220-grit sanding process.

Step 5: Random-orbital sander with 400-grit sandpaper

The result of this process gives me a good satin finish, and removes most of the sanding marks from the previous step. There are some instances where I will use 600-grit or 1000-grit, particularly if the stainless has a high iron content. A high iron content can cause several problems.

Step 6: Smooth with 3M silicone composite wheel

Most people go to a sisal wheel at this point. I also use a sisal wheel, but I have found that a No. 7S deburing wheel (sold by 3M) will remove all vestiges of the previous sanding’s and provide a smooth finish prior to polishing.

Step 7: Polish with medium cut compound

Polishing compounds are identified by color. The compound you need at this step is usually a gray bar. Dark gray is usually an emery compound, and is used for fast cutting on stainless trim. DO NOT use this on aluminum trim. Lighter gray is also for stainless, and provides less cutting action.

Step 8: Polish with light cut compound

This is usually a yellow bar or one of several white compounds. The whites cut differently, depending on the manufacturer.

Step 9: Polish with white finishing compound

This is a coloring compound and, with most polishers, is the final step. This provides a very high luster. It will remove any remaining imperfections.

Step 10: Finish with a final coat of ``Metalsome`` to a high luster

have developed my own final-finish polish that gives the highest luster, I call it my “secret sauce” or otherwise known as “Metalsome”. It is not a solid pressed cake like most other finishing compounds, it is a liquid that combines several products, but if I go any further into my explanation, I would have to call it my “everybody knows what it is sauce”.